FFmpeg first. These tools need FFmpeg. If a tool shows FFmpeg required, open the Setup tab and click Install FFmpeg.
Tool 1
Video Merge — clips into one video
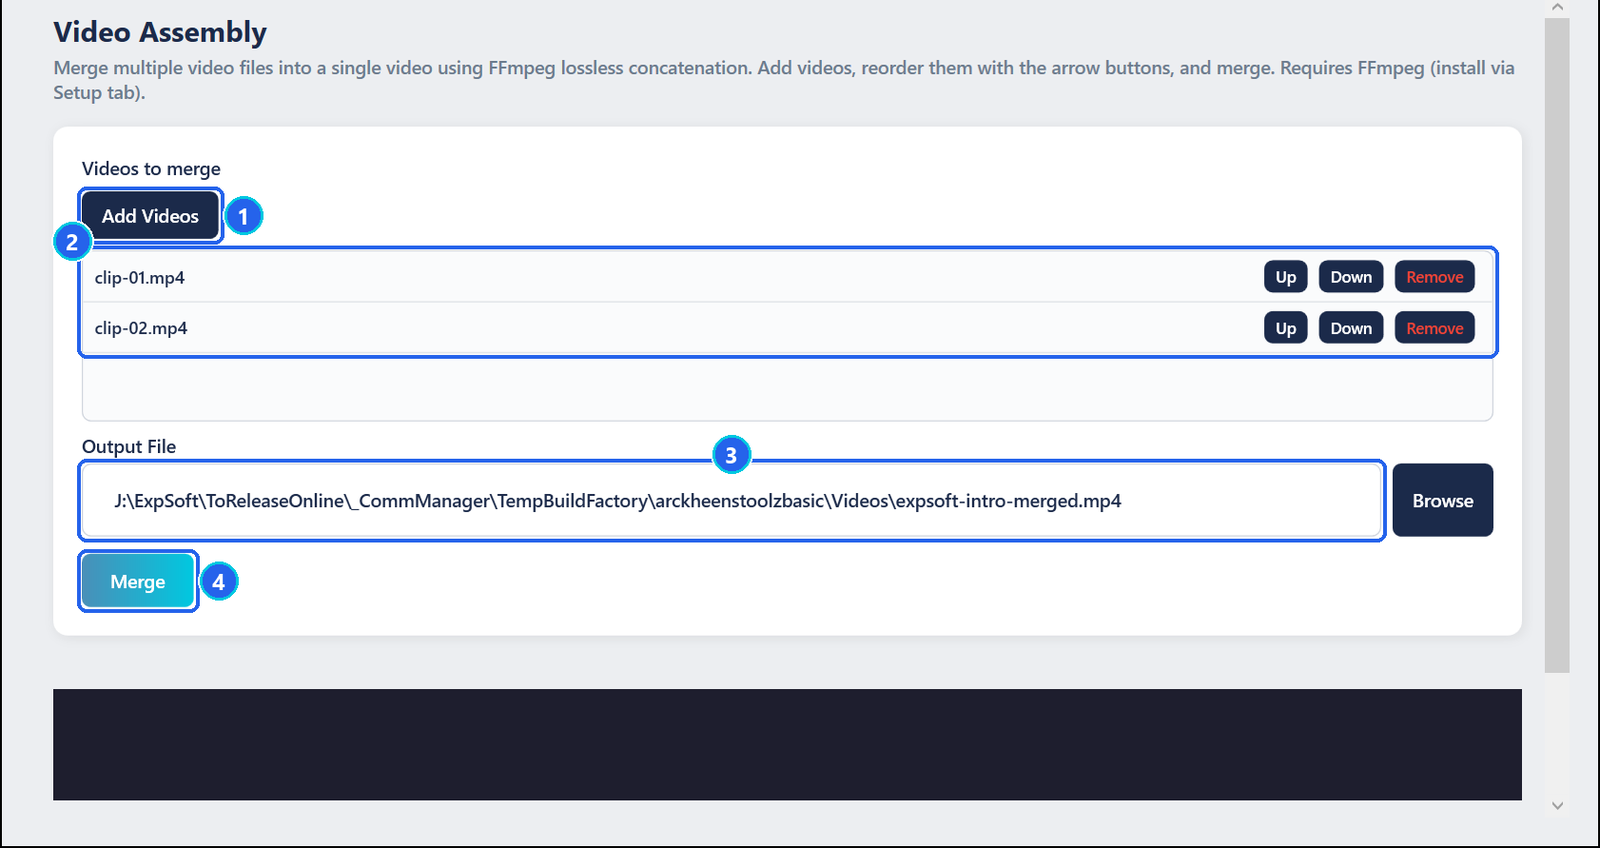
- 1Add Videos — pick one or several clips.
- 2The list — the merge order. Up / Down reorder, Remove takes a clip out.
- 3Output File — the merged video.
- 4Merge — joins the clips, without re-encoding: fast, and no quality loss.
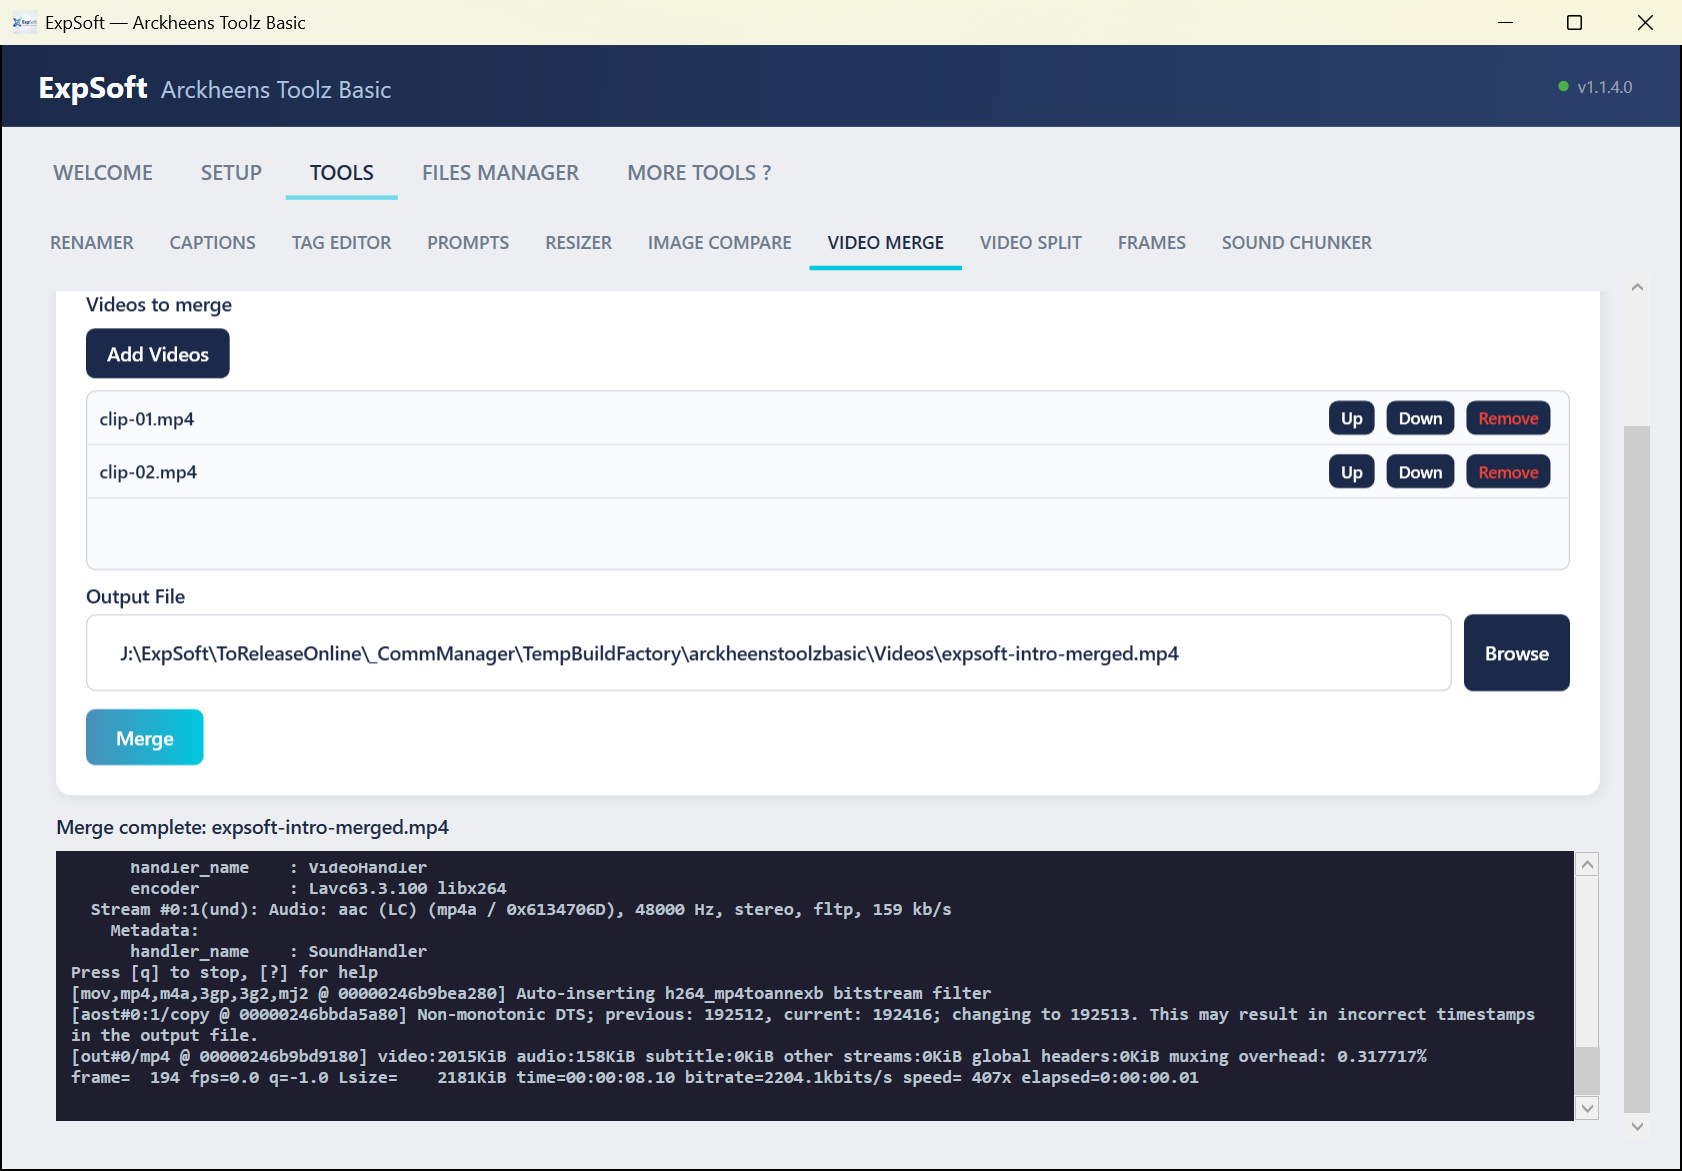
Same format. Because nothing is re-encoded, the clips must share the same codec, resolution and frame rate — typically clips from the same camera or the same app.
Tool 2
Video Split — one video into parts
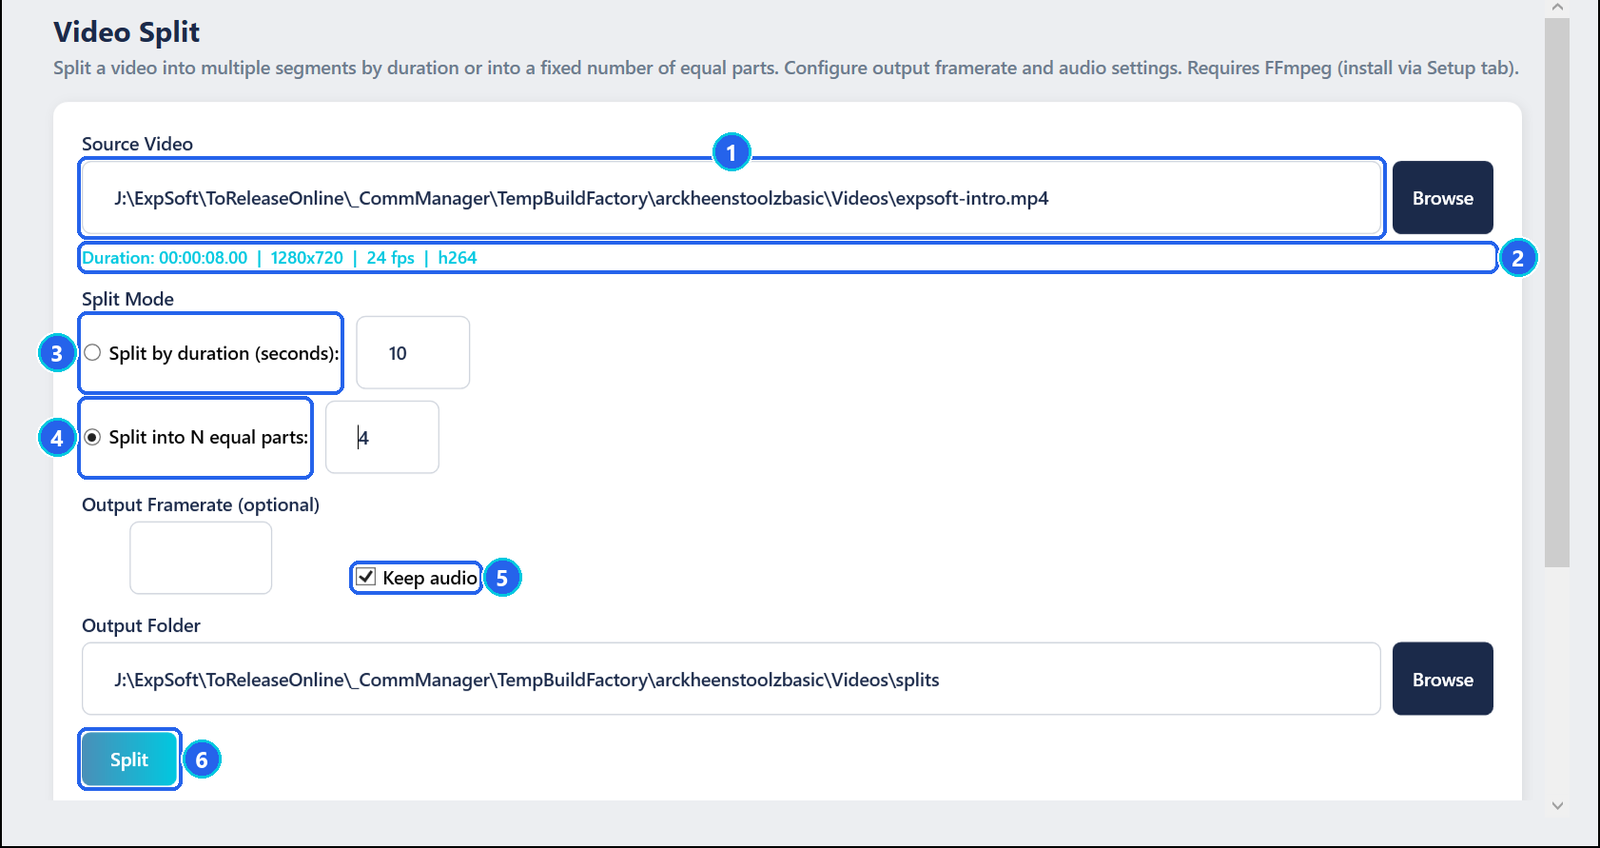
- 1Source Video — the video to cut.
- 2Video info — duration, size, frame rate and codec, read as soon as the file is chosen.
- 3Split by duration — a part every N seconds.
- 4Split into N equal parts — the number of parts; their length is computed for you.
- 5Keep audio — untick it to drop the sound. Output Framerate is optional.
- 6Split — writes
name_part001,name_part002… intosplitsnext to the source.
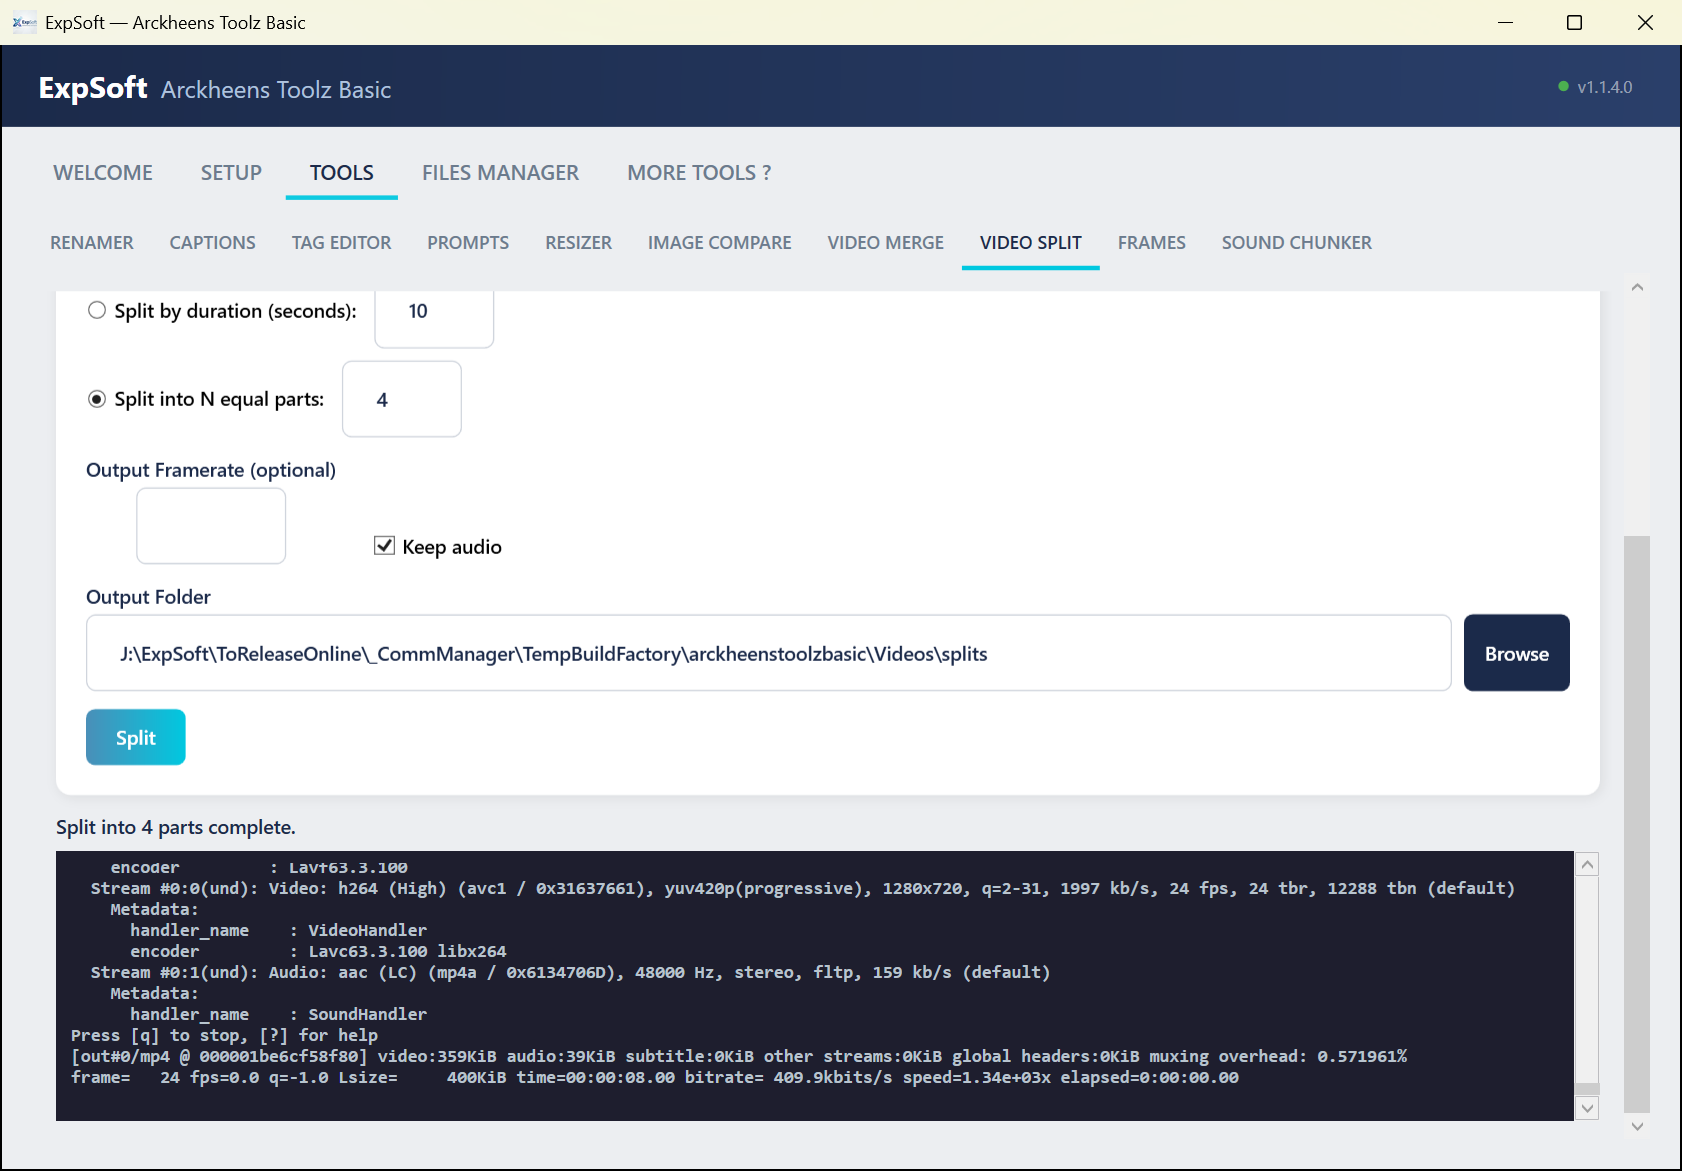
Cuts on key images. The parts are copied without re-encoding, so each cut falls on the nearest key image of the video: part lengths can differ by a fraction of a second.
Tool 3
Frames — a video into images
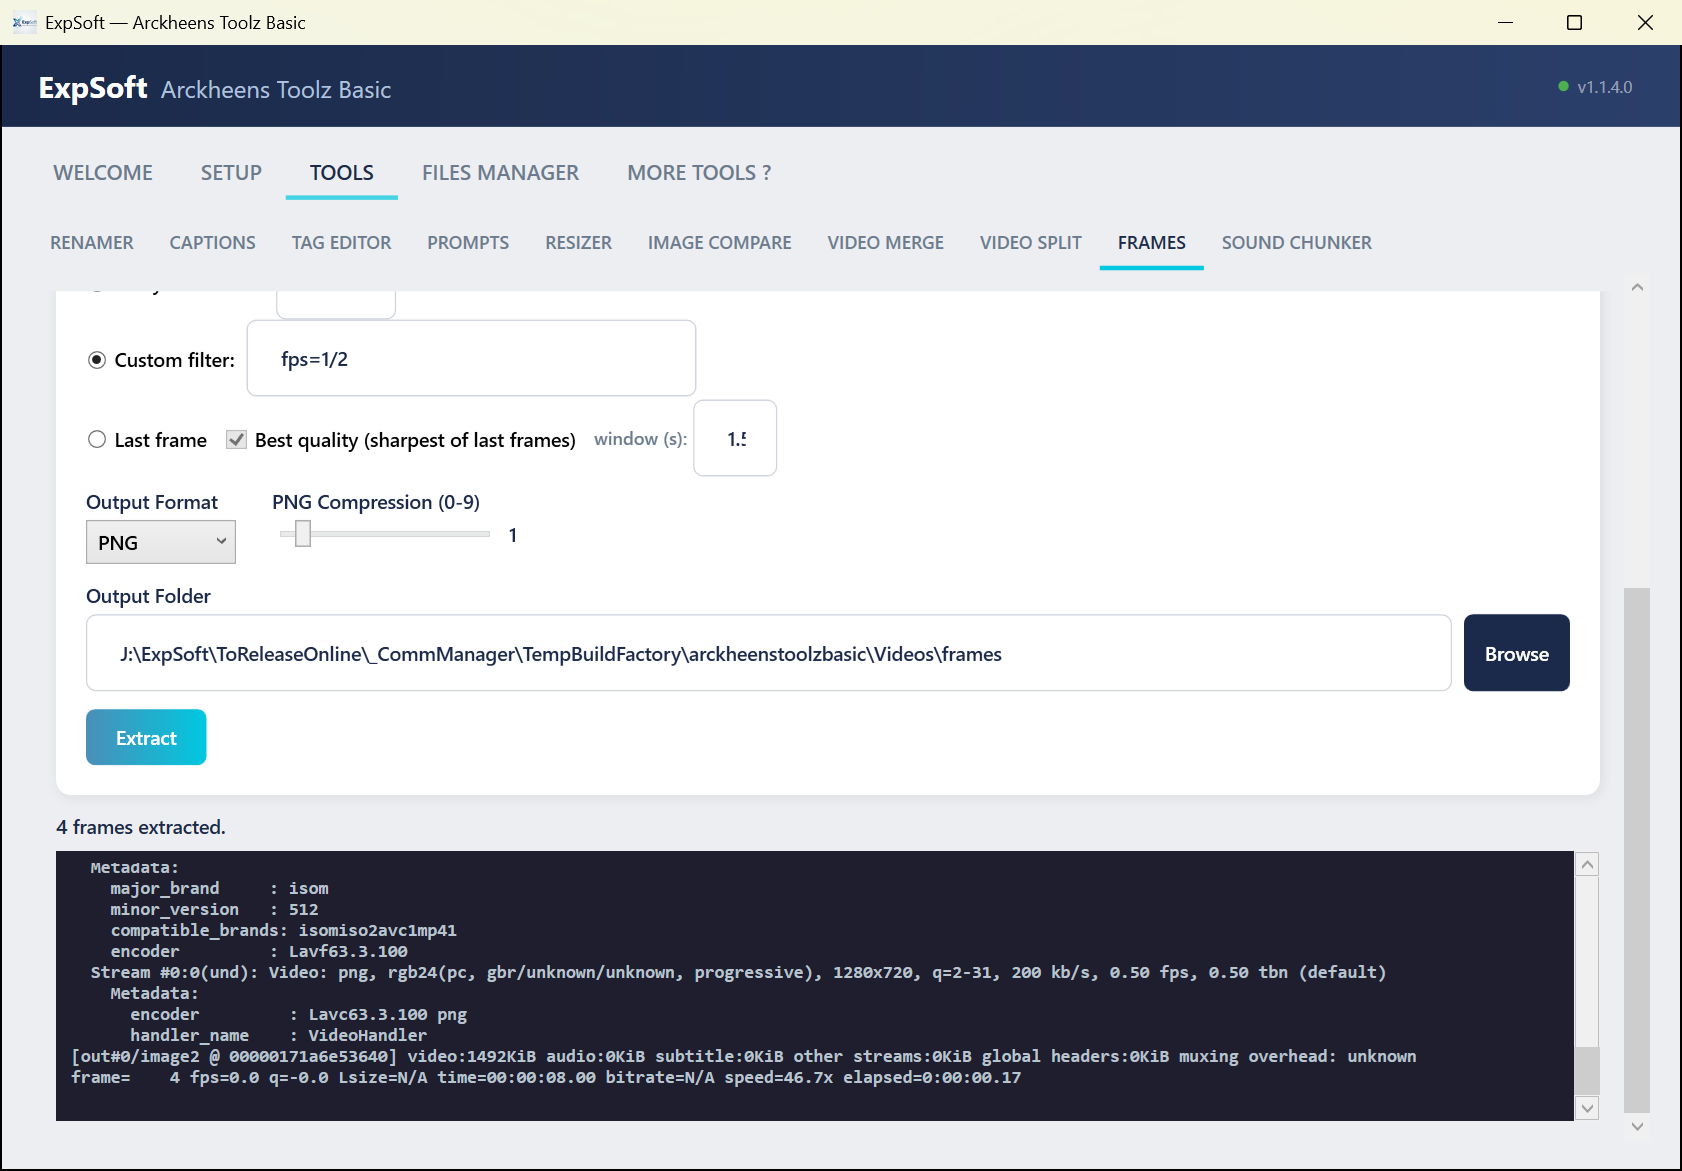
Five ways to extract images: key images only, all frames, one frame every N seconds, your own FFmpeg filter, or only the last frame — ideal to continue a video from where it stops.
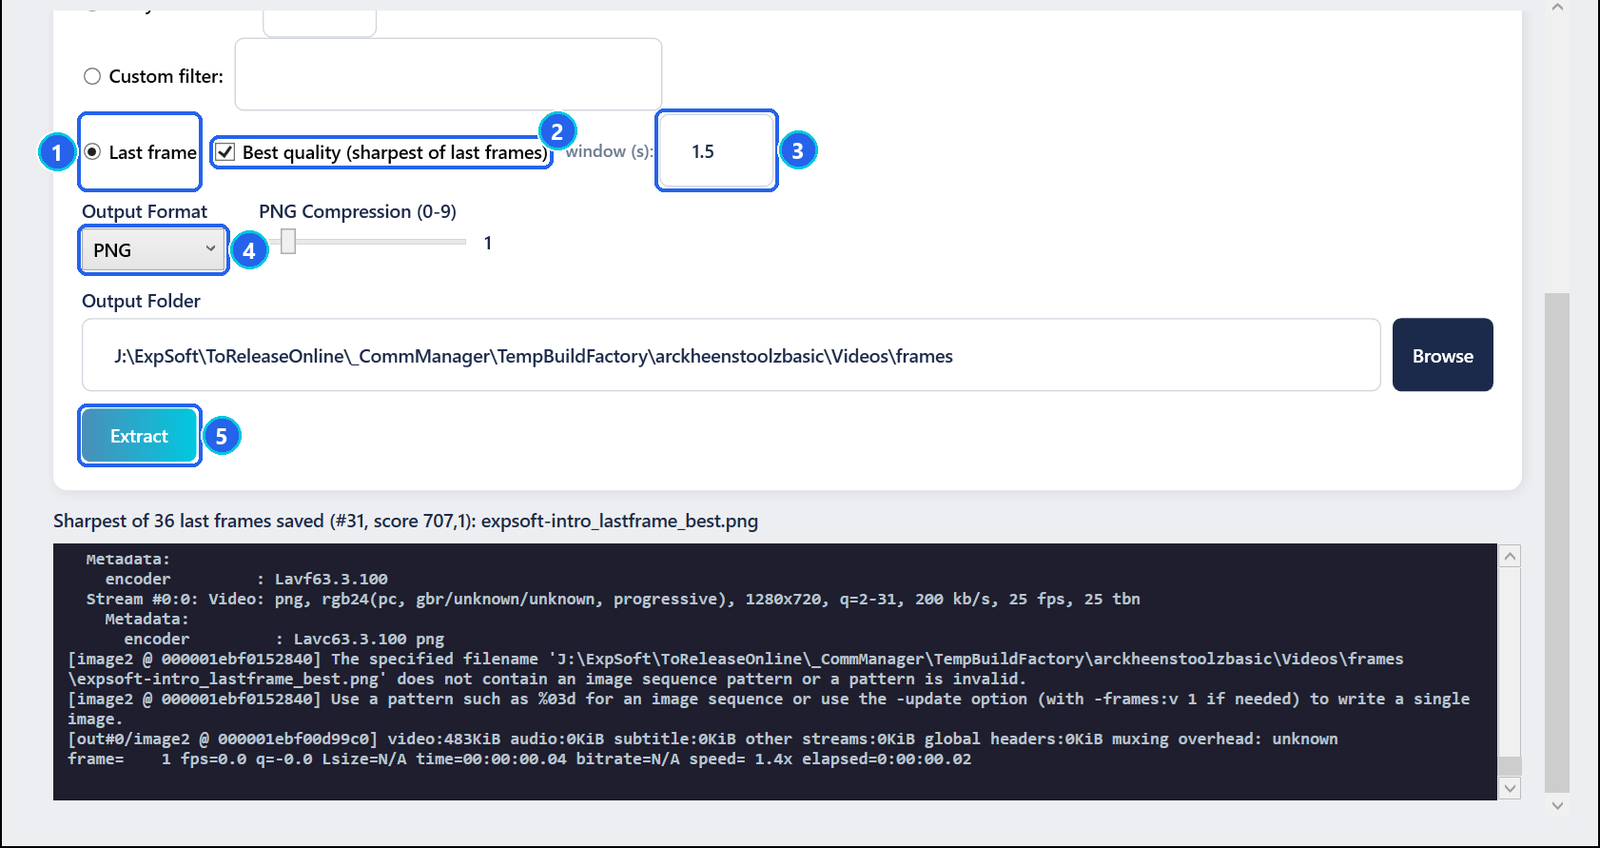
- 1Last frame — extracts only the end of the video.
- 2Best quality — the very last frame is often blurred by motion: the tool looks at the last frames and keeps the sharpest.
- 3window (s) — how many seconds from the end to look at.
- 4Output Format — PNG, JPEG, BMP or TIFF (PNG compression 0 to 9).
- 5Extract — writes the images into
framesnext to the video. - 6Status — which frame won, and its file name.
Troubleshooting
The merged video glitches at the joins.
The clips probably differ in codec, resolution or frame rate. Merge joins them without re-encoding, so they must match.
My video was split into fewer parts than asked.
Parts can only start on a key image. A video with very few key images cannot be cut finely; re-export it with more key images, or split by a longer duration.
Which Frames mode should I use?
Every N seconds for a dataset from a long video, Keyframes only for a quick overview, Last frame to continue a clip, All frames only for short videos (24 to 30 images per second).